Archive for January, 2013

Building a WindowFarm (Part 1)

This weekend I started building a WindowFarm with my brother.  Building it together is actually his Channukah present (just don’t ask which year’s).  We used the ‘mini’ version 2 instructions that will yield a single column WindowFarm holding three planters.  The instructions are not the best, but they’re totally sufficient if you’re willing to wing things a bit.

I didn’t start taking pictures until we were already underway.

Instructions, materials and tools laid out.

Instructions, materials and tools laid out.

We cut holes in the bottom of each water bottle so they can stack and drain into each other.  We also cut holes in the side to insert the net cups (and so the plants have room to grow).  The instructions specify that you should use Poland Springs 1.5 liter ‘eco design’ bottles.  They don’t really explain why, but the reason is that they get narrower in the middle and that holds the net cups nicely in place.  We used another brand of water bottles that had a similar narrowing in the center.

Net cups placed inside water bottles

Net cups placed inside water bottles

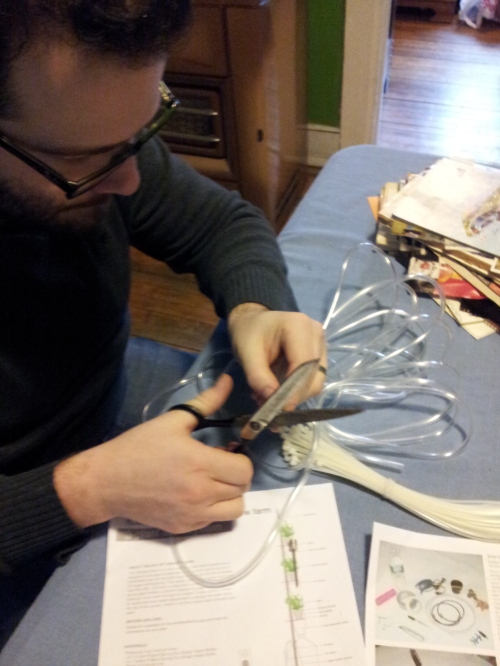
Then we started cutting tubing for the air lift.

Gilad, cutting tubes

Gilad, cutting tubes.

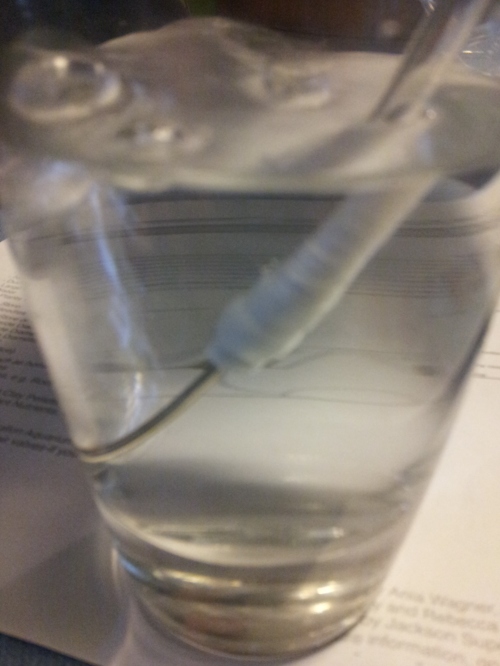
We didn’t buy all the different types of tubing the instructions call for so we had to improvise to get the air pump needles attached to the tubing.  Liberal amounts of teflon tape were used, followed by testing for air leaks in a nearby cup of water.

Testing for air leaks

Testing for air leaks

The aquarium pump has two outlets.  Each one gets a tube with an air pump needle.  These were inserted into holes at the bottom of the air lift tube.  This will carry water to the top of the WindowFarm which will drip through each planter and back into the reservoir at the bottom.

Bottom of the air lift tube.  Those blue plastic pieces are check valves.

Bottom of the air lift tube. Those blue plastic pieces are check valves.

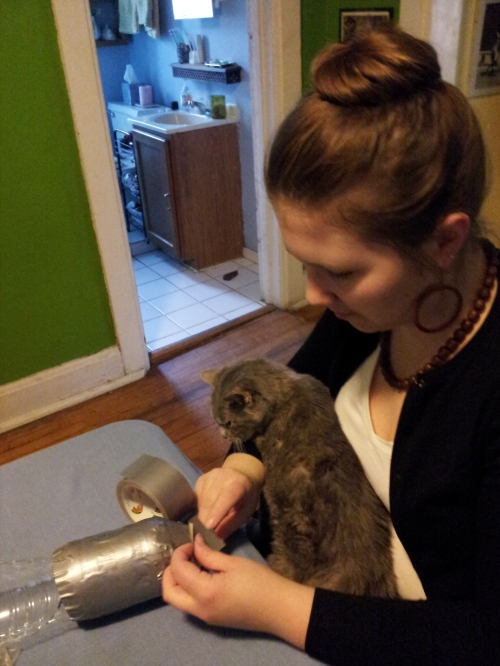
Sarah and her furry assistant taped up the bottoms of the bottles.

Aurora is 'helping'

Sarah, taping the bottom of the bottles so the roots don’t photosynthesize

Then they got all artsy on ’em.
Sarah and her friend decoupaged the bottles.  Pretty!

Sarah and her friend decoupaged the bottles. Pretty!

New Year, New Ginger Champagne (Bonus Round: Ginger Gin Infusion)

This year my brothers and I continued the tradition my oldest brother started four or five years ago: brewing up a batch of ginger champagne on January 1st.  Ginger champagne takes a year to ferment at minimum, so it’s perfect for New Year’s Eve.  It also gets better with age (in theory).  Our success record has been kind of spotty, especially when trying to age the champagne, but I feel good about this year’s batch.  The recipe we follow (from Wild Fermentations, occasionally adapted) is meant for 1 year, so it’s possible there’s something we should change if we want it to be good after a longer ferment.   This year we decided to add an infusion round to the festivities: we used the extra ginger to make some ginger-lime infused gin (side note: the blog we got this recipe from, boozed and confused, is rapidly becoming one of my favorites).

Ginger Champagne

Ingredients:

  • ~1.5 lbs ginger
  • 12 cups white granulated sugar
  • ~3/4 cup lemon juice (this was the juice of three lemons for us)
  • 1/2 TB vanilla extract
  • 1 packet Champagne yeast (we used Lalvin EC-1118)
  • 5 quarts water
  1. Boil water (in two pots if you’re like us and don’t have one pot large enough).
  2. Peel and grat the ginger.  We weighed it after peeling and it was roughly 1.25 lbs, or 4 cups (2 in each pot).
  3. Add sugar, lemon juice and vanilla extract (split between pots).
  4. Let cool (this was when we made the ginger-lime gin).
  5. Once it’s cooled down to a bearable temperature, remove some ginger brew (about a cup) and add the yeast.  Once it starts going, add the yeast to the pot(s).
  6. Siphon from pot(s) into your fermentation vessel(s).
  7. Woo! (optional)

There are more steps after that, but not for another 2 months or so.  In September we’ll be bottling the brew and it should be ready for next NYE.

2013-01-01 20.45.04

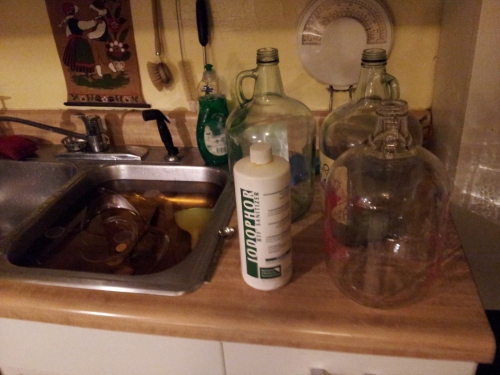
Sanitizing the equipment

Ginger-Lime Gin

Ingredients (we tripled everything because we made a batch for each brother):

  • 2 cups gin (we used beefeater)
  • zest of one lime (roughly 2 tsp for us)
  • 2 heaping TB of chopped ginger (we used the leftover ginger peel from making the champagne)
  • 2 TB agave syrup or honey (we’ll be adding that this week)

I won’t include the steps since I’d basically be lifting the recipe straight from boozed and infused.  Their site is fantastic.  If you’re into this sort of thing, be sure to check out their booze infusion index.

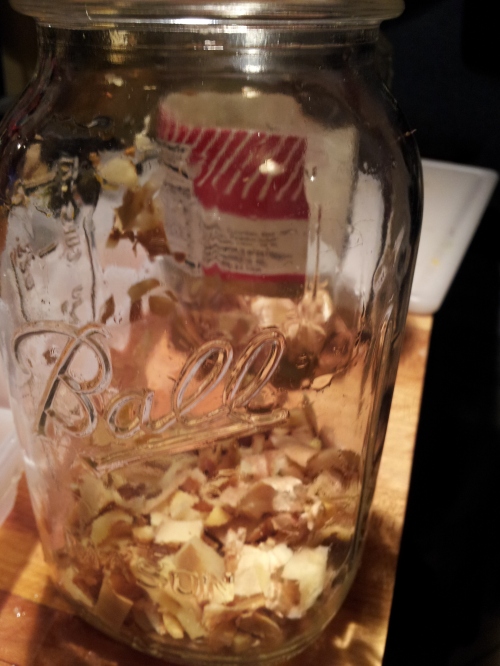
Ginger and lime zest

Ginger and lime zest

2013-01-01 22.06.58

Filling up the jars

2013-01-01 22.09.16

Pretty.


Pages

Categories

January 2013
M T W T F S S
 123456
78910111213
14151617181920
21222324252627
28293031